Introduction
Have you ever wandered through the beauty aisle, eyes wide at the prices of serums and creams? If so, you’re not alone! Many beauty enthusiasts are turning to DIY beauty products as a fantastic way to save money and create personalized treatments. Let’s dive into some budget-friendly beauty recipes you can whip up in your own kitchen!
Why Choose DIY Beauty Products?
Cost-Effective Solutions
First things first, let’s talk about your wallet. DIY beauty products can save you a ton of cash. Why spend $50 on a face mask when you can make a similar one for just a few dollars? With simple ingredients from your pantry, you can create beauty solutions that won’t break the bank.
Control Over Ingredients
Another perk? You control what goes into your products. No more squinting at labels filled with ingredients you can’t pronounce. When you make it yourself, you know exactly what’s in your beauty regimen. This is especially important for those with sensitive skin or allergies.
Essential Tools for DIY Beauty
Basic Tools You’ll Need
Before we get into recipes, let’s gather our tools. You don’t need a fancy lab; just some basic kitchen supplies will do! A mixing bowl, spoon, and measuring cups are essentials. If you have a blender, that’s a bonus for smooth blends.
Storage Solutions
Once your products are ready, you’ll need to store them. Small glass jars or plastic containers work perfectly. Just make sure they’re clean to keep your creations fresh!
DIY Skincare Recipes
Homemade Face Masks
Let’s kick things off with some simple face masks you can make at home!
Avocado and Honey Mask
This mask is a powerhouse of hydration. Simply mash half an avocado and mix it with a tablespoon of honey. Apply it to your face for 15-20 minutes and rinse. Your skin will feel soft and nourished!
Oatmeal and Yogurt Mask
For a gentle exfoliation, combine two tablespoons of oatmeal with two tablespoons of plain yogurt. This soothing mask calms irritation while providing moisture. Leave it on for 15 minutes, then rinse off.
Moisturizers You Can Whip Up
Keeping your skin hydrated is crucial, and these moisturizers are a breeze to make!
Coconut Oil Moisturizer
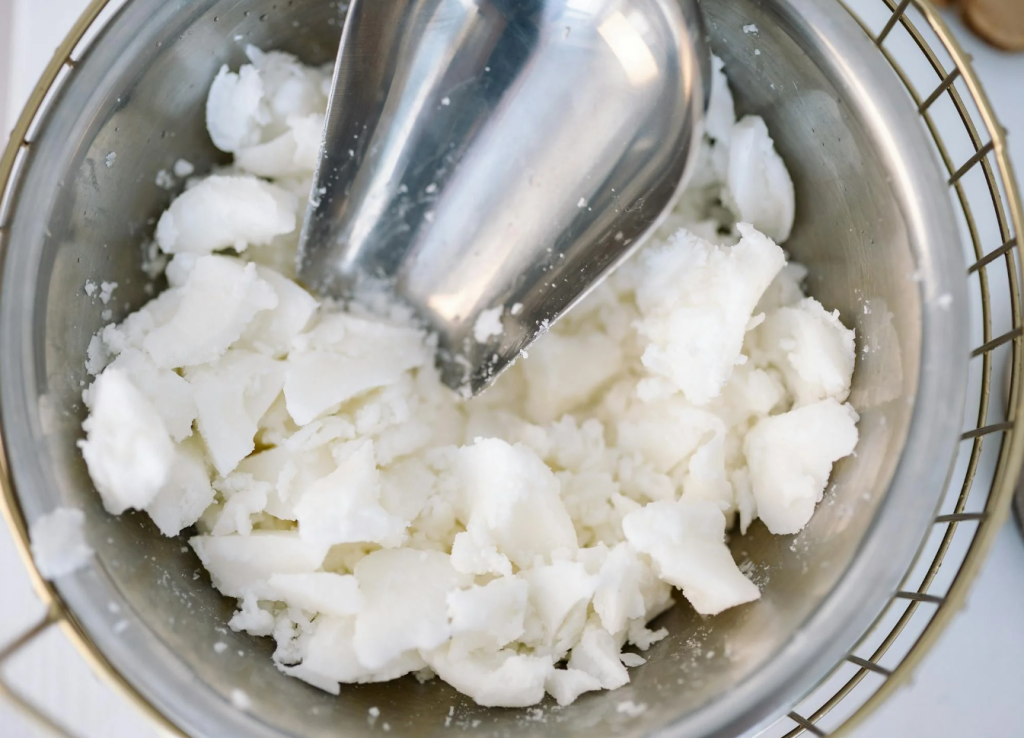
Just grab some coconut oil! It’s solid at room temperature but melts on contact with your skin. Rub it on after your shower for all-day hydration.
Aloe Vera Gel
If you have an aloe plant, you’re in luck! Scoop out some fresh gel and apply it directly to your skin for a refreshing and soothing treatment, especially after sun exposure.

DIY Hair Care Products
Natural Hair Masks
Let’s not forget about our hair! Here are a couple of nourishing masks.
Banana and Olive Oil Mask
Blend one ripe banana with a tablespoon of olive oil. Apply this mixture to your hair, focusing on the ends. Let it sit for about 30 minutes before rinsing for silky, shiny hair.
Coconut Milk and Honey Conditioner
Mix equal parts coconut milk and honey for a deeply moisturizing treatment. Apply it after shampooing, let it sit for a few minutes, and then rinse thoroughly.
DIY Hair Treatments
Scalp Scrub with Sugar and Coconut Oil
Mix two tablespoons of sugar with two tablespoons of coconut oil to create a simple scalp scrub. Massage it onto your scalp to exfoliate and stimulate blood flow.
Apple Cider Vinegar Rinse
For shiny hair, dilute one part apple cider vinegar with two parts water. Use it as a rinse after shampooing to remove buildup and enhance shine.
Budget-Friendly Makeup Alternatives
Tinted Lip Balm
Looking for a quick and easy lip color?
Beetroot Lip Balm Recipe
Mix one tablespoon of coconut oil with a teaspoon of beetroot powder. Melt the oil, stir in the powder, and let it cool in a small container. You’ll have a natural, tinted lip balm that’s good enough to eat!
Natural Highlighter
Want that glow without the price tag?
Coconut Oil and Coffee Highlighter
Mix one tablespoon of coconut oil with a sprinkle of coffee grounds. This creates a shimmering highlight that enhances your cheekbones beautifully. Just apply a small amount where the light hits your face.
Tips for Success
Experimenting with Ingredients
Don’t be afraid to experiment! Mixing and matching ingredients can lead to amazing discoveries. Just remember to keep track of what you try so you can recreate your favorites.
Safety and Patch Testing
Always perform a patch test before trying new products, especially if you have sensitive skin. Just apply a small amount to your wrist and wait for 24 hours. If there’s no reaction, you’re good to go!
Conclusion
DIY beauty products not only save you money but also allow you to pamper yourself with natural ingredients tailored to your needs. So grab your supplies, get creative, and enjoy the process of making your beauty products at home!
FAQs
1. How long do DIY beauty products last?
Typically, homemade products last about one week to one month, depending on the ingredients. Always store them in the fridge for longevity.
2. Can I use essential oils in my DIY recipes?
Absolutely! Just make sure to research which oils suit your skin type, and always dilute them properly.
3. Are DIY beauty products safe for all skin types?
While many are safe, patch testing is crucial, especially for sensitive skin.
4. Where can I find ingredients for DIY beauty products?
Most ingredients can be found in your kitchen, grocery store, or health food store.
5. Can I customize these recipes?
Yes! Feel free to modify ingredients based on your preferences and skin needs. Happy experimenting!

