Introduction
Ever stared at the endless wall of lip balms at the store and thought, “Why are there so many, and yet none that feel quite right?” If so, you’re not alone—and you’re in for a treat. Crafting your own lip balm at home isn’t just fun; it’s empowering, customizable, and surprisingly easy. Let’s dive deep into the world of at-home beauty and show you exactly how to whip up a balm that your lips (and wallet) will thank you for.
Why Make Your Own Lip Balm?
Cost-Effective Solution
Store-bought lip balms can be deceptively expensive, especially when you’re paying for branding more than quality. Making your own means that for the price of a couple of good ingredients, you can create dozens of lip balms.
Full Ingredient Control
You get to skip the petroleum, preservatives, and artificial colors—especially if you’re someone who leans toward clean beauty. It’s your balm, your rules.
Customization and Creativity
Want a lavender vanilla balm? Go for it. A peppermint cocoa twist? No problem. You can tweak texture, scent, tint, and even healing properties.
Understanding Lip Balm Basics
What Does Lip Balm Actually Do?
At its core, lip balm hydrates, protects, and locks in moisture. It creates a barrier against harsh elements—think wind, cold, and dry indoor air.
Key Ingredients Overview
All lip balms follow a similar formula: wax for structure, oil for hydration, and optional additives like essential oils or natural colorants for extra flair.
Must-Have Ingredients for DIY Lip Balm
Beeswax
The backbone of any balm, beeswax gives structure and helps lock in moisture. If you’re vegan, candelilla wax is a solid plant-based alternative.
Carrier Oils (Coconut, Jojoba, etc.)
These do the heavy lifting when it comes to hydration. Coconut oil adds a silky feel, while jojoba mimics your skin’s natural oils.
Essential Oils for Scent and Benefits
Peppermint, lavender, vanilla—each oil not only smells amazing but comes with skin-loving benefits. Just use sparingly; a little goes a long way.
Optional Add-ins: Color, SPF, and Flavor
You can mix in natural colorants like beetroot powder or cocoa, or even add SPF (zinc oxide) for sun protection. For a fun twist, add a drop of food-grade flavor oil.
Tools You’ll Need
Kitchen Tools
You’ll need a double boiler or a makeshift one (a heatproof bowl over a pot of simmering water), a small whisk or stirrer, and measuring spoons.
Containers
Small tins, lip balm tubes, or even tiny mason jars—just make sure they’re clean and heat-safe.
Step-by-Step Guide to Making Lip Balm
Step 1: Measure Ingredients
A good starter ratio is:
- 1 part beeswax
- 2 parts carrier oil
- Optional: 1–2 drops essential oil per tablespoon of oil
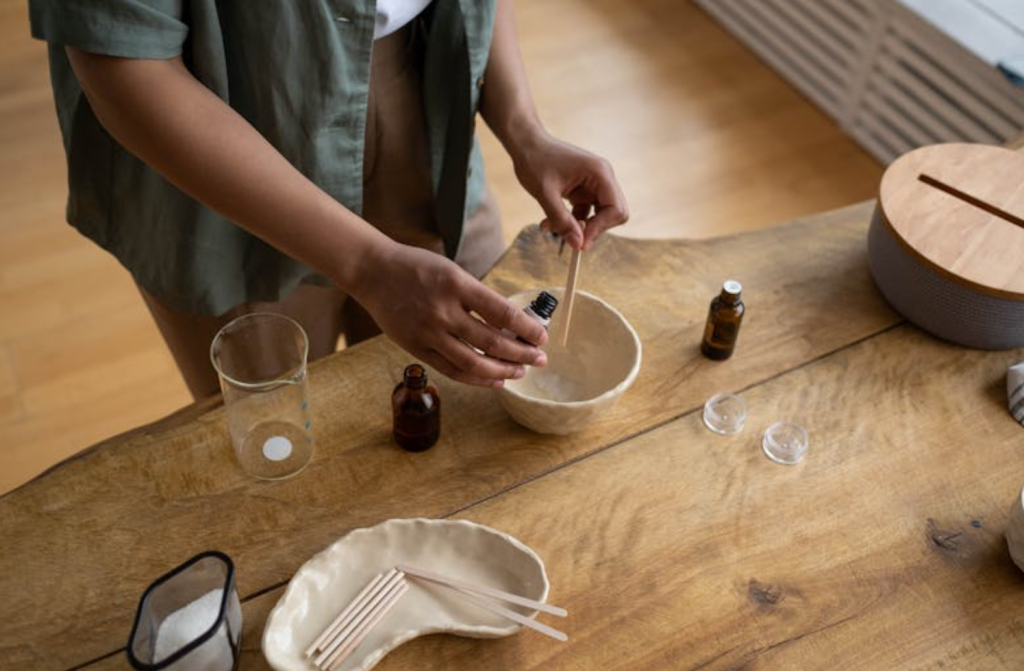
Step 2: Melt and Mix
In your double boiler, melt the beeswax and carrier oils together, stirring gently until smooth.
Step 3: Add Scent and Extras
Remove from heat. Let it cool slightly (but not harden), then stir in essential oils, colorants, or other add-ins.
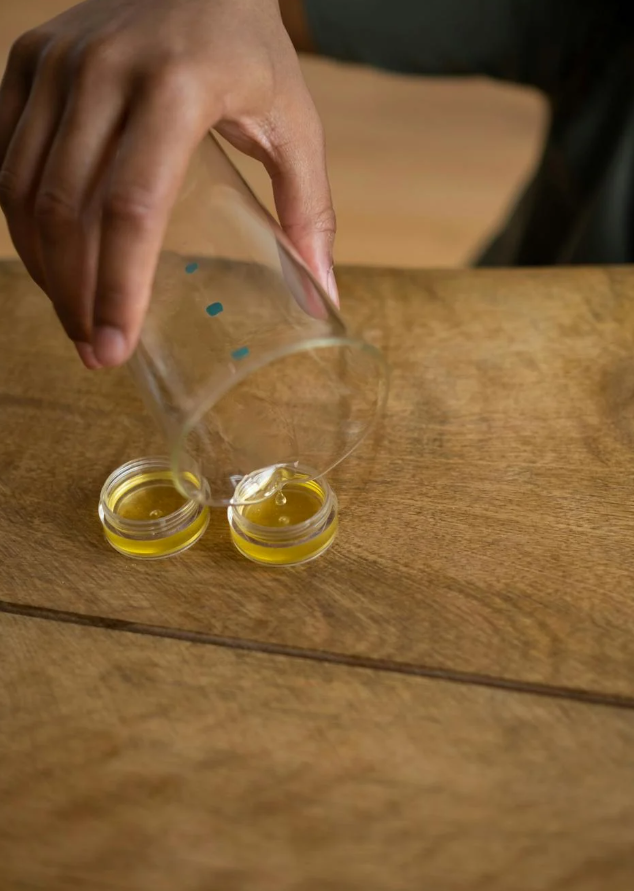
Step 4: Pour into Containers
Carefully pour the warm mixture into your prepared containers. A small funnel or dropper helps here.
Step 5: Let It Cool and Set
Allow the balm to cool completely—about 30 minutes to an hour. Then, cap and label if you like!
Troubleshooting Common Mistakes
Too Soft or Too Hard? Adjust the Ratios
Too mushy? Add more beeswax next time. Too hard? Dial up the oil.
Uneven Texture or Separation
This usually happens when ingredients are overheated or not mixed thoroughly. Slow, even melting is key.
Creative Variations to Try
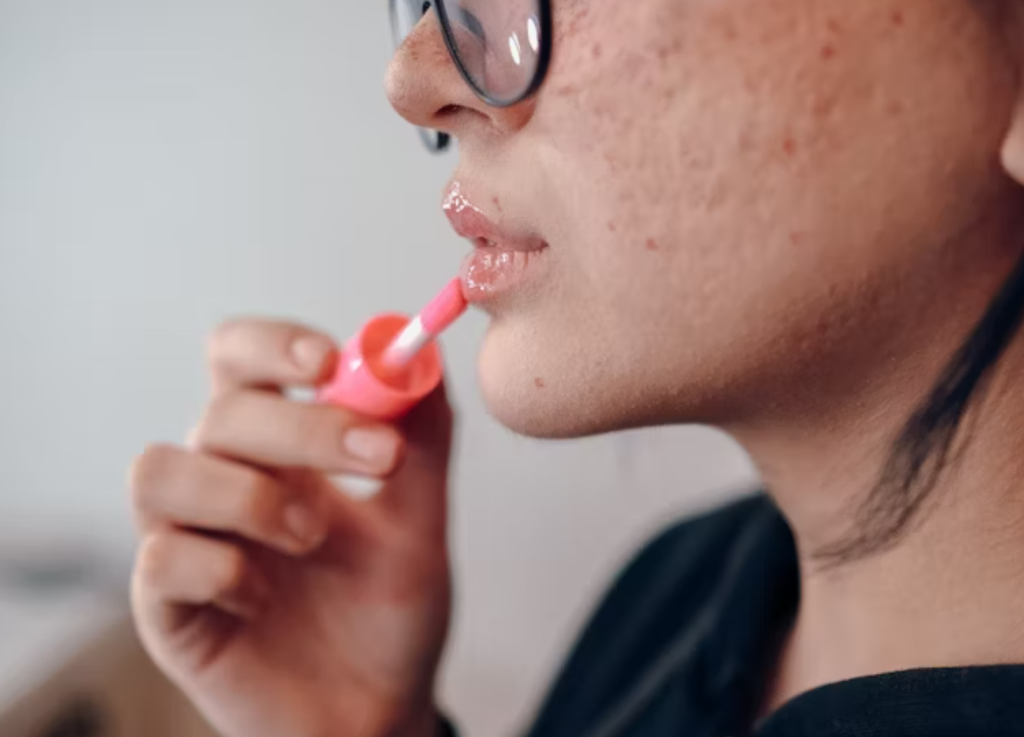
Tinted Lip Balm
Add a pinch of beetroot powder, cocoa powder, or mica for a hint of color that’s oh-so-natural.
Minty Fresh Lip Balm
Combine coconut oil with peppermint essential oil for a cooling, refreshing experience.
Lavender-Calm Lip Balm
Perfect before bed—lavender oil has soothing properties and pairs well with shea butter.
Safety Tips and Shelf Life
Patch Test for Allergies
Always do a patch test before slathering new essential oils on your lips—especially with citrus oils.
Storing Your Balm
Store in a cool, dry place. Heat can cause separation or melting.
How Long Does It Last?
Typically, your DIY lip balm will last up to 6–12 months, depending on the freshness of your oils.
Eco-Friendly and Gift-Worthy
Sustainable Choices
Skip the plastic and use reusable tins or biodegradable tubes. Bonus: it’s better for your conscience and the planet.
Personal Gifts That Wow
Tie a ribbon around a tinted balm or create a custom blend for a friend—it’s thoughtful, handmade, and useful.
Conclusion
Crafting your own lip balm isn’t just about saving money or avoiding chemicals—it’s about taking beauty into your own hands. With a few simple ingredients and a bit of creativity, you can create something that’s truly yours. Whether you’re a DIY rookie or a seasoned skincare formulator, homemade lip balm is a simple but satisfying start to your at-home beauty journey. Now go ahead—pamper your pout the homemade way.
FAQs
1. Can I use lip balm base instead of starting from scratch?
Yes! Pre-made bases are convenient and great for beginners. Just melt and customize with your chosen oils and scents.
2. Is it safe to add food coloring to lip balm?
Not really. Food coloring isn’t oil-soluble and can separate. Stick to cosmetic-grade tints or natural powders.
3. What’s the best way to clean lip balm containers?
Use hot water and mild soap. If there’s leftover wax, use a bit of oil to dissolve it before rinsing.
4. Can I make vegan lip balm?
Absolutely. Just replace beeswax with candelilla or carnauba wax, and use plant-based oils.
5. How can I add SPF to my lip balm?
You can mix in non-nano zinc oxide for natural sun protection. Use around 5-10% of your formula and stir very well.